Residual Stress Measurement
Residual Stress Measurement determines if your critical components can withstand the load and stress conditions of operations.
Lambda is a recognized leader in the field of residual stress measurement, with extensive experience testing all types of materials, including metallics, ceramics, and polymers of nearly any shape and size.
- Custom state-of-the-art test equipment designed and built by our in-house technical team
- Components can be tested in our laboratory or in the field
- All residual stress measurements are performed by our certified residual stress engineers and technicians
- Decades of testing experience
- Both x-ray diffraction and mechanical residual stress available allowing for best option to be chosen for a given application
With more than half a million completed measurements and over 100 technical papers published, Lambda is a recognized leader in materials testing and research. Authors of the American Society for Metals “X-ray Diffraction Residual Stress Techniques.”
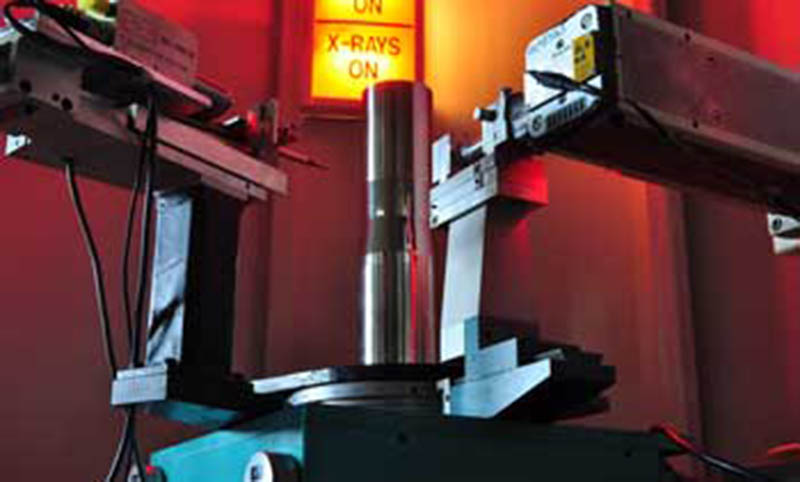
X-Ray Diffraction
X-Ray Diffraction (XRD) is the method of choice for the highest resolution measurement of surface and near-surface residual stress, where most stress-related cracking occurs. XRD is the only method available to obtain a true surface residual stress measurement. It can provide measurement of residual stress in multiple directions and can be used to produce maps and high-resolution incremental depth profiles.
Ring Core
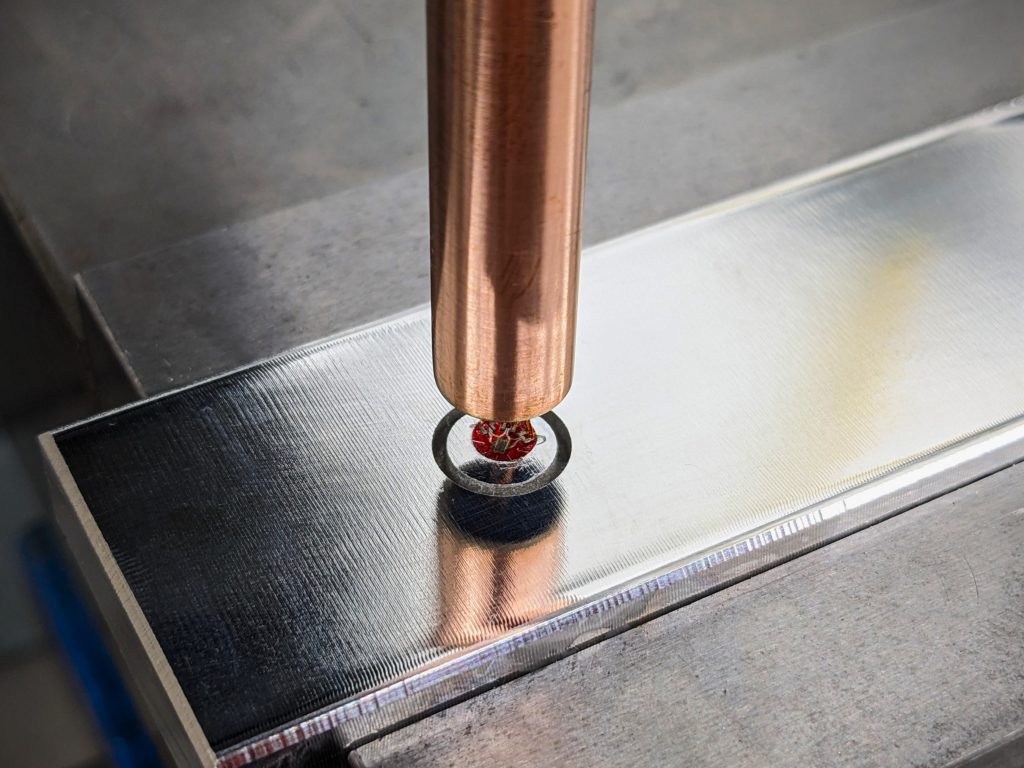
Ring core is a mechanical residual stress measurement method based on the introduction of an annular groove around a strain gauge rosette. Ring core allows for determination of principal residual stress with depth.
How Does it Work?
Ring core consists of machining an annular groove around a strain gauge. The change in strain resulting from relieving the stressed material is recorded at varying core depths and used to calculate the residual stresses.
The ring core technique is similar to the hole-drilling method, but generally has a higher sensitivity due to the machined groove separating the gauge material from the rest of the test part. Ring core provides measurements of residual stresses up to the yield strength of the material. Material machined away during the ring core method is typically more than what is machined for the hole-drill method.
Features:
- Measures residual stresses in all directions in the plane of the part surface
- Maximum measurement depth depends on diameter of groove
- Applicable to a wide variety of materials and component sizes
- Method is valid for residual stresses approaching the yield strength
- Good alternative for materials that cannot be tested with XRD, such as coarse grain or amorphous materials
For additional information regarding the ring core technique:
Lambda Research Diffraction Notes, No. 31 – Measurement of Residual Stresses Using Ring-Core Technique
Lambda Research Diffraction Notes, No. 35 – Incremental Ring-Core Determination of the Principal Residual Stress in a Duplex Stainless Steel Centrifuge
Hole Drilling
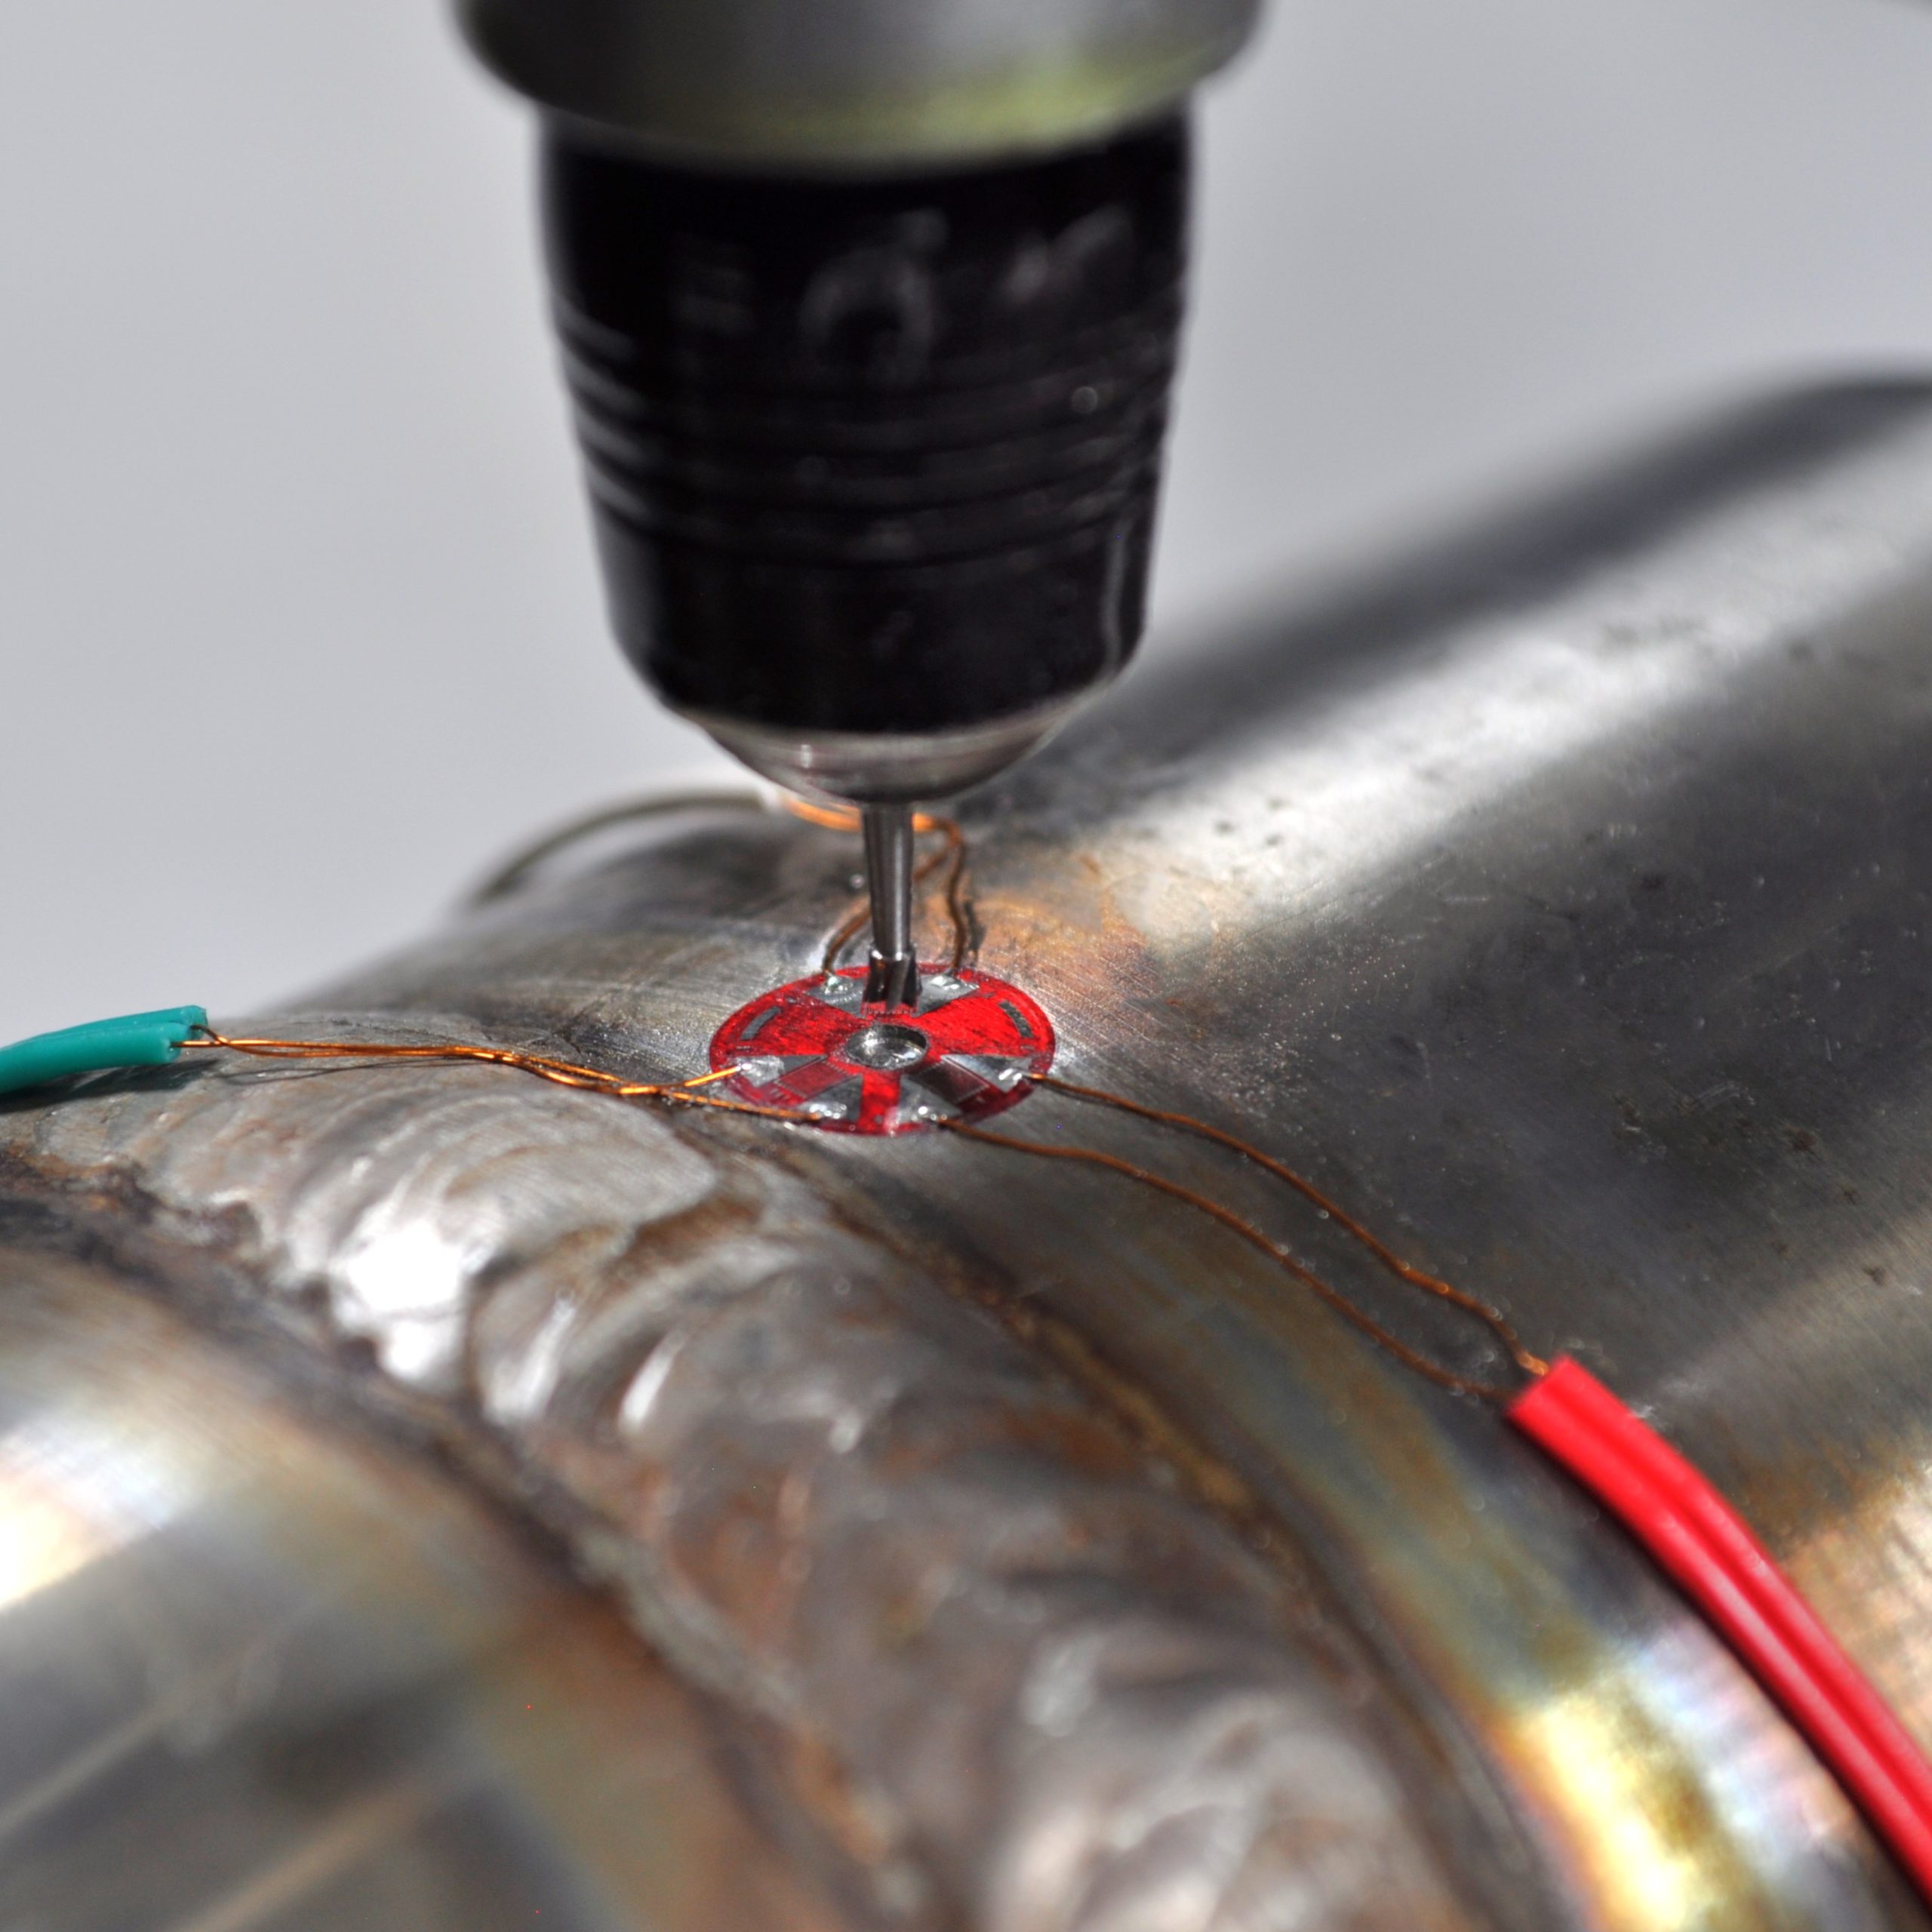
Hole-drilling is a widely used mechanical residual stress measurement technique based on the introduction of a relatively small hole at the center of a strain gauge rosette designed for this method. Hole-drilling allows for determination of principal residual stress with depth.
How Does it Work?
Hole-drilling involves machining a small hole into the center of a specially designed strain gauge adhered to the test part. The resulting change in strain is used to calculate the residual stresses.
Features:
- Measures residual stresses in all directions in the plane of the part surface
- Measures principal residual stresses on a wide range of materials
- Requires a relatively small amount of material removal
- Can measure residual stresses up to approximately 80% of the yield of the material
- Maximum measurement depth of 0.08 in. (2 mm)
- Performed per ASTM E837 specification
Slotting or Slitting
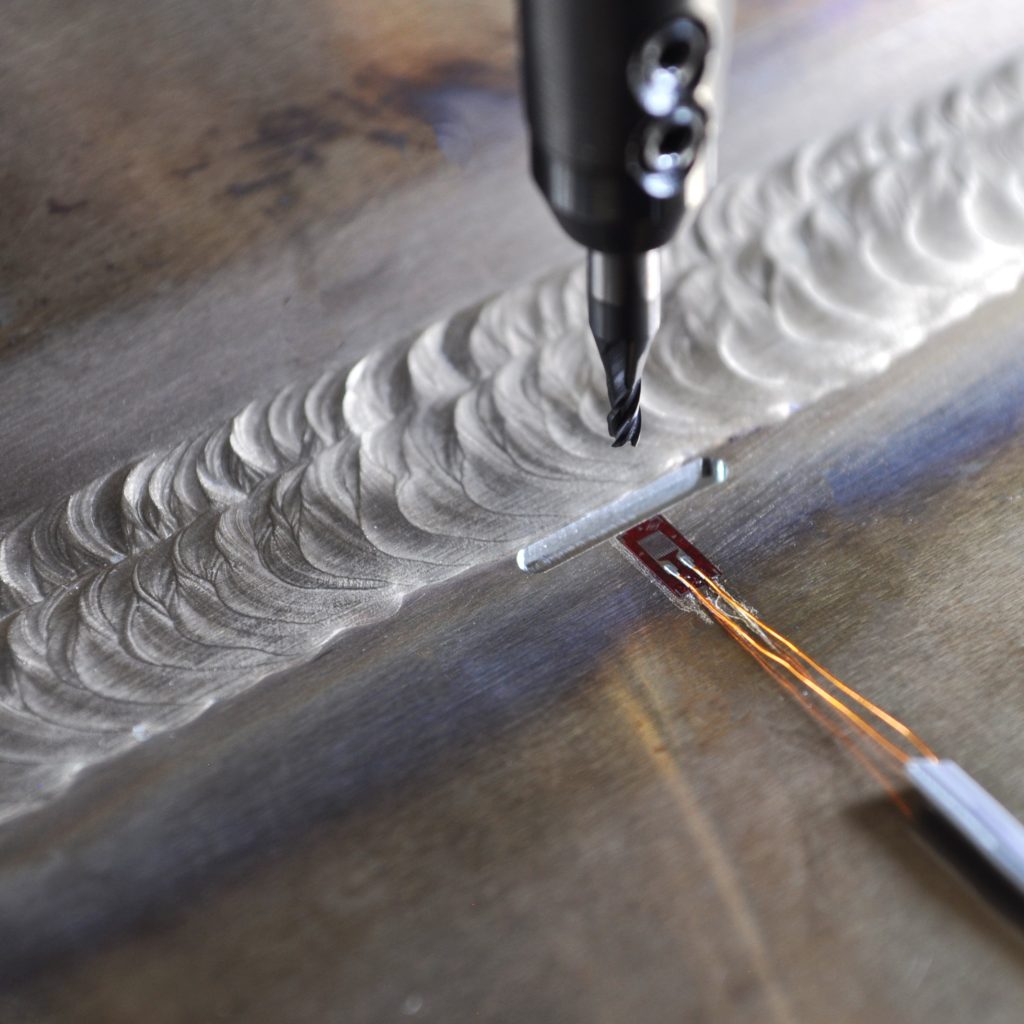
Slotting is a mechanical residual stress measurement method based on the introduction of a slot adjacent to a strain gauge. Slotting allows for determination of residual stress in one direction.
How does it work?
The method uses linear elastic theory which consists of machining a slot into the test part adjacent to a strain gage. Removal of material will relax the residual stresses and changes the resulting strain that’s recorded at varying slot depths. The recorded change is used to determine the residual stress with depth.
Features:
Slotting is easy to perform and can be used when residual stress measurement is only needed for one direction.
Other features include:
- Incremental residual stress measurement up to a nominal depth of 0.2 in. (5 mm)
- Amount of material removed is comparable to the ring core method
- Used when measurement is only needed in one direction
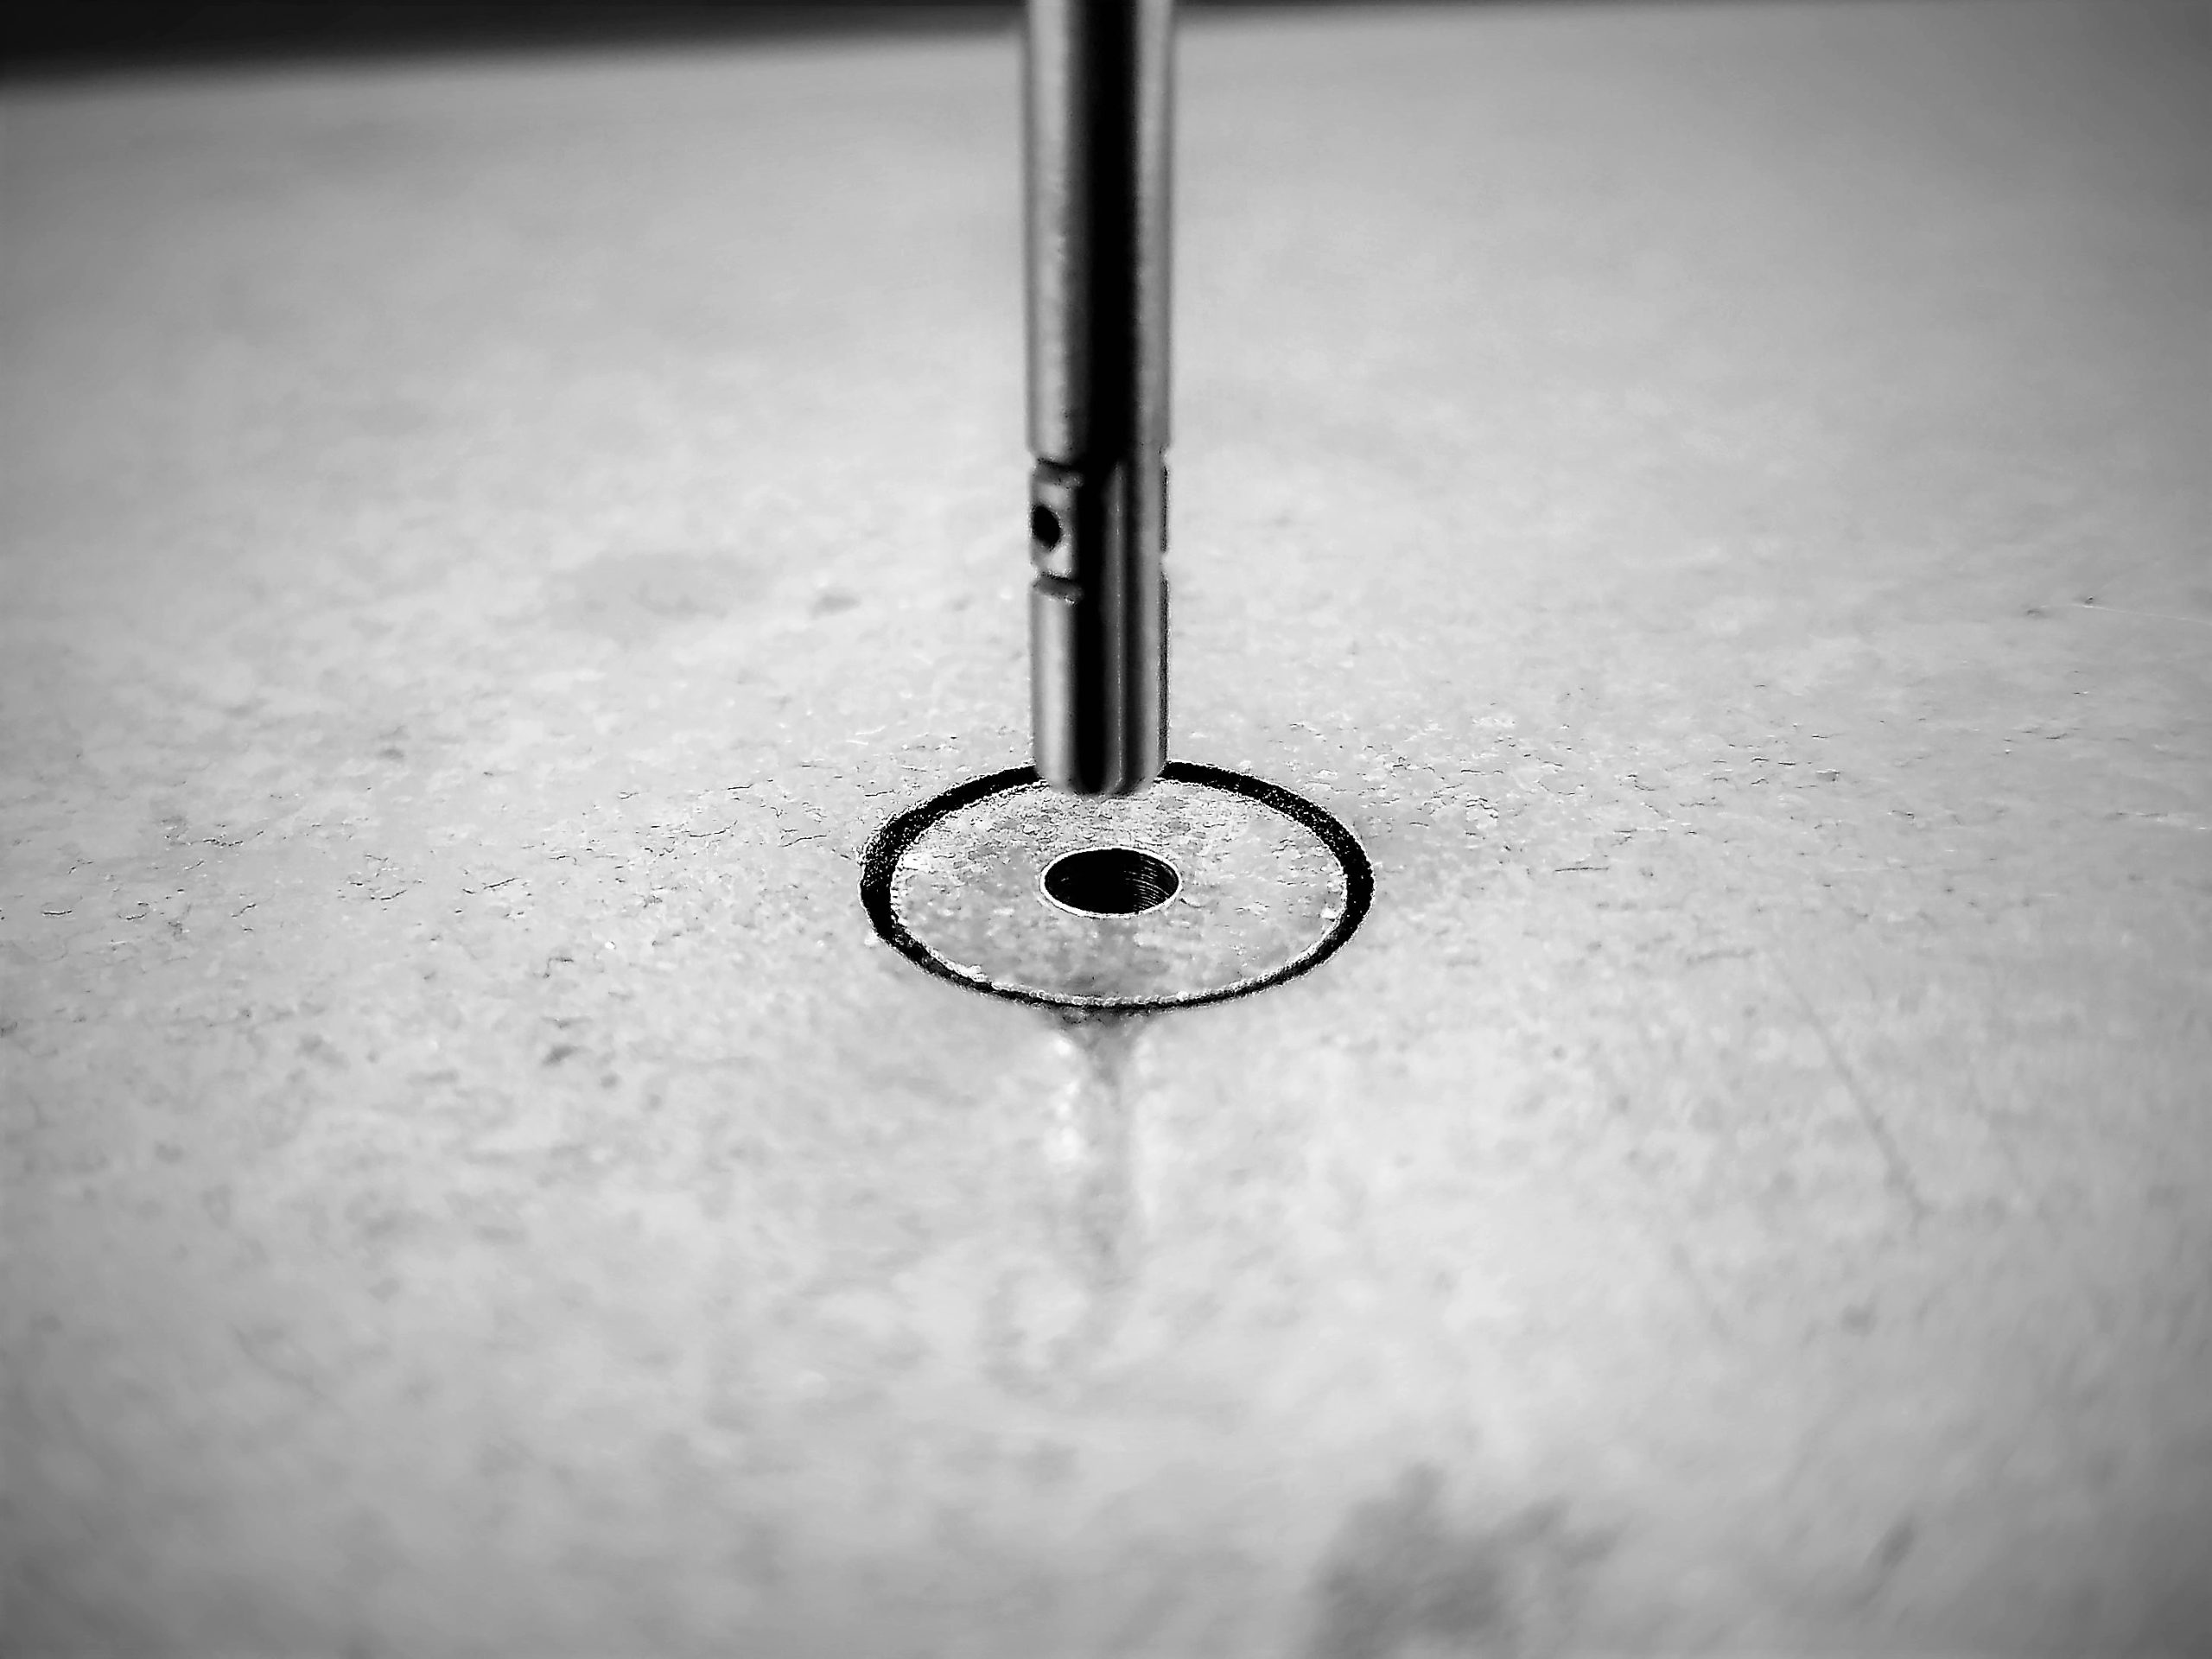
Deep Hole Drilling
The deep hole drilling (DHD) technique is a mechanical method based on the diametral measurement of a reference hole before and after coring around the hole. It is used to measure through-thickness principal residual stresses in most parts. DHD is particularly useful for characterizing stresses from processes such as additive manufacturing, welding, heat treatment, casting, and forging in thick cross-sections.
How Does it Work?
This method is based on linear elastic theory and involves drilling a reference hole into a test sample. The reference hole diameter is measured at various angles and depths using a high precision air-gauge system before and after removing the reference hole using a coring process.
The change in diameter of the reference hole after coring is used to determine the residual stresses incrementally over the length of the reference hole.
Features:
- Measures residual stresses in all directions in the plane of the part surface
- Through-thickness measurements can typically be made depending on drill and air-gauge depth capacity
- Provides principal residual stresses at depths several orders of magnitude deeper than what can be achieved with typical strain gauge mechanical measurement methods
Tube splitting
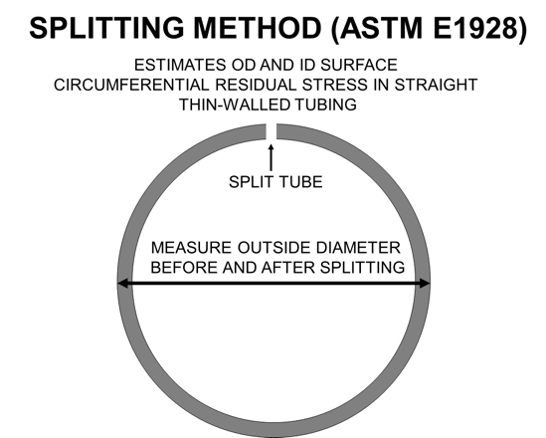
Tube splitting is a mechanical sectioning technique requiring the splitting of a tube and using the change in diameter to assess the hoop residual stress.
How Does it Work?
This technique consists of measuring the outside diameter of a tube before and after splitting along a lengthwise line. The diameter change is used to estimate the circumferential residual stress on the inside and outside diameter surface.
Features:
- Applicable to a wide array of materials
- All testing is done per ASTM specification E1928
Sectioning
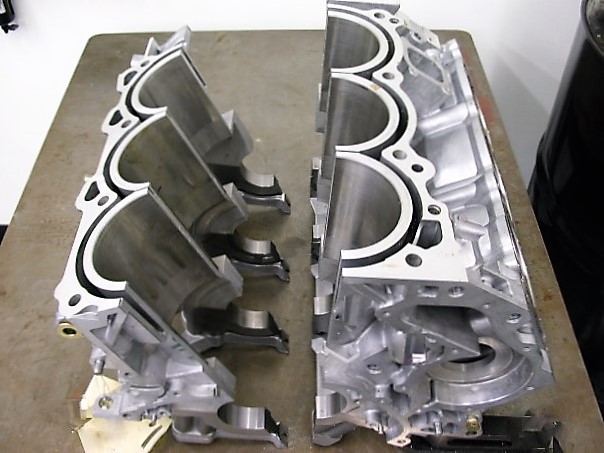
Residual stress measurement using bulk sectioning generally describes any method where the part is sectioned by a series of predetermined cuts to relax the majority of the bulk residual stresses. Strain gauges are affixed to the areas of interest to monitor strain relaxation and determination of the residual stress.
How Does it Work?
The sectioning method involves instrumenting a sample with strain gauges at key locations. Strains relieved by the sectioning process are used to determine the bulk residual stress. The method is often used to measure residual stresses resulting from welding, casting, or forging processes.
Features:
- Provides principal residual stresses
- Can be applied to an assortment of materials and part geometries
- Useful when incremental residual stress distributions are not required
- Accurate and economical
Lambda is a recognized leader in the field of residual stress measurement, with extensive experience testing all types of materials, including metallics, ceramics, and polymers of nearly any shape and size.
-
- -We can test components in our laboratory or in the field
- -Lambda does not subcontract residual stress testing to a third party
- -All residual stress measurements are performed by our certified residual stress engineers and technicians
Lambda’s testing laboratory is accredited to ISO/IEC 17025 by The American Association for Laboratory Accreditation (A2LA). Where applicable, our testing meets the standards of ASTM, SAE, NACE, ECS, and API.
Have a question about our residual stress measurement services and capabilities?

